
Many reactions require a magnetic stirring hotplate. I’m forgetful so I would want one that can be programmed with a consistent schedule. Also, I’d like to do a little cooking and test some recipes.
Chris from a couple months ago, can I spend $1,400 on a hotplate? “I don’t have the money for that” Jeez… Oh… well then I guess I have to build it myself…
Seems straightforward enough. Are you ready to watch me fail… repeatedly? Because this is Ten Tries.
Try 1
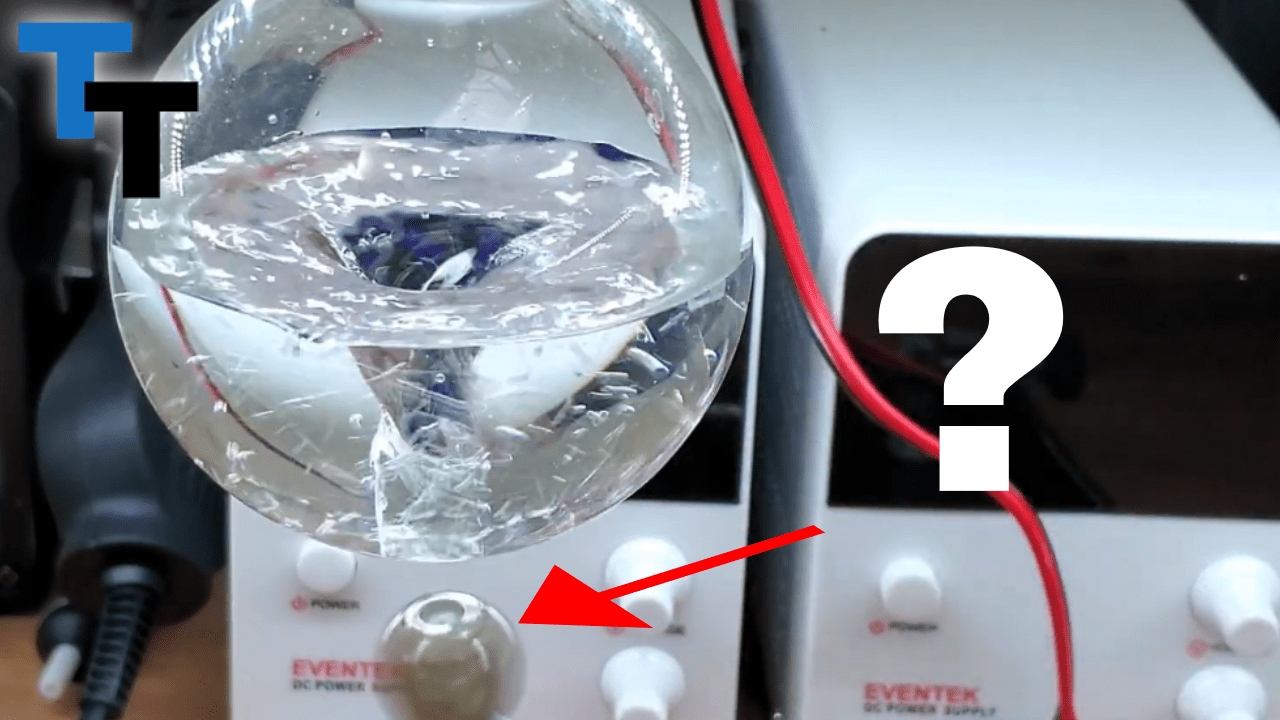
Magnetic stirrers work by rotating a magnetic field to spin a magnetic stir bar in a container. I want to break this issue down into parts. In my first attempt, I tackle stirring. I bought some cheap teflon coated stir bars, and for the rotating magnetic field, I designed a setup with a simple DC motor that spins magnets.
It is simple and sort of works, but there is no speed control and the motor wears out the coupler after just a bit of use. Also, it can’t spin too quickly or…
The stirrer could use a little work, but we will come back to that.
Try 2
While it may not be an option on many hotplates, I would like some decent temperature control. For the actual heating element, I picked up this cheap single burner for about $12. My control will be a PID temperature controller for another $12. The thermocouple doesn’t look like it can be submerged in a solution, so I picked up one that can for about $3.
It overshot the set temperature quite a bit, but after it settled, the temperature was very stable.
Try 3
The motor I was using doesn’t have much torque and there is no speed control, so I printed up a few parts and bought a motor and speed controller that are typically used on drones for $13. I designed and printed some parts to mount the motor, measure the speed, and mount the magnets.
While this works fairly well as a magnetic stirrer, there is no way the printed parts can withstand the heat of the hotplate.
Try 4
Using the lost-PLA casting method I showed in my first two videos, I made these parts out of aluminum. These parts should withstand heat much better.
Also, I used my controller from Try 10 of my Lost-PLA project and made some modifications, because the PID controller I was using can’t be programmed with a schedule.
So, it’s time to put it all together.
I made an enclosure for the control circuitry out of some wood scrap I had laying around and painted it black.
Then, I mounted everything inside with some wood screws.
I’ll be including wiring diagrams on the project page for this project.
I added an accelerometer to help balance the magnet mount so it doesn’t vibrate as much while it spins. That process was a little involved, so I will have to make a separate video for the balancer, itself.
This device can heat and stir well now, so it’s time to check the temperature accuracy. To do this, I compared the readings with the freezing point and boiling point of water. I added Ice water to a bath and heated it until the boiling point while the python program records the temperature. The idea here is that the temperature should remain at the freezing point of water, 0 degrees C, until the ice melts. Then, the temperature should continue to rise until the boiling point which should be around 98 degrees C since I’m doing this test at ~2,000ft above sea level. The freezing point of water does not change much at different altitudes, because the water density difference is small when freezing compared to boiling.
It seems the temperature was only about half a degree low for the freezing point and boiling point. That is pretty accurate.
If you’d like to calculate the boiling point of water where you live, I will include the calculator in the project write-up on my site, TenTries.com.
Try 5
I’m going to do something I’ve never done before: follow a recipe to the letter. I programmed my hotplate to cook some Mac and Cheese.
I wanted to try cooking something a little more difficult. If you’ve ever cooked hollandaise sauce, you know it is incredibly easy to mess up. Well, precise temperature helps a lot!
Alright! So for $40, about the price of some of the cheapest stirring hotplates, I have one that functions similar to a $1,400 programmable stirring hotplate!
How would you make this hotplate better? Let me know in the comments below!
If you enjoyed this video, make sure to hit that subscribe button. It really helps me to make more high quality videos!
Hey mate this is really good but I don’t know how to programs PLC,”s or pic controllers can you help with that?
We’ll have to go more in depth in that in the future. I mostly just write some small section of code, debug, Google what I did wrong, and repeat until it is working. There are a lot of starter guides out there. I’d suggest getting an Arduino and playing around with some online guides. They are well supported and a lot of people can help troubleshoot in many forums, namely the official one, https://forum.arduino.cc/