
Aluminum: it’s in everything from air planes to beer cans. How do we manipulate this metal into something useful? One method is lost-wax casting (or Lost PLA Casting). Typically, wax is sculpted into the shape of the object you would like to create. It is submerged in investment plaster, the wax is burned out, and molten aluminum is poured into the cavity.
Kits:
Save some time, and buy the kits below! These kits are all made and shipped by Ten Tries.
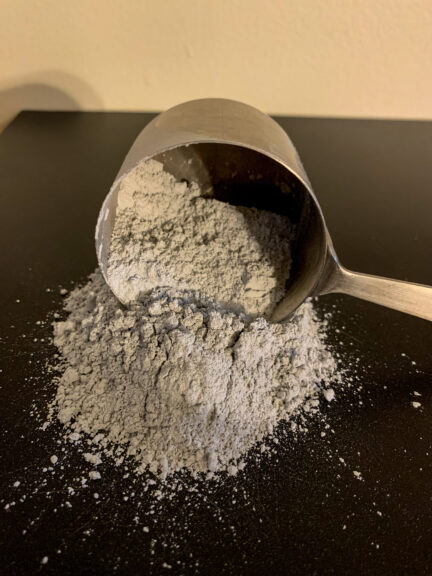
Lost Wax (or Lost PLA) Lightweight Casting Powder 1.1
Before you spend all the time making it yourself, try out the pre-mixed casting plaster used in the Lost PLA Casting Project from Ten Tries!
The 5 lb kit that will make around 200 oz. (over 13 pints) of investment.
The kit includes 5, 10, or 15 lb of the pre-mixed powder. Just add water!
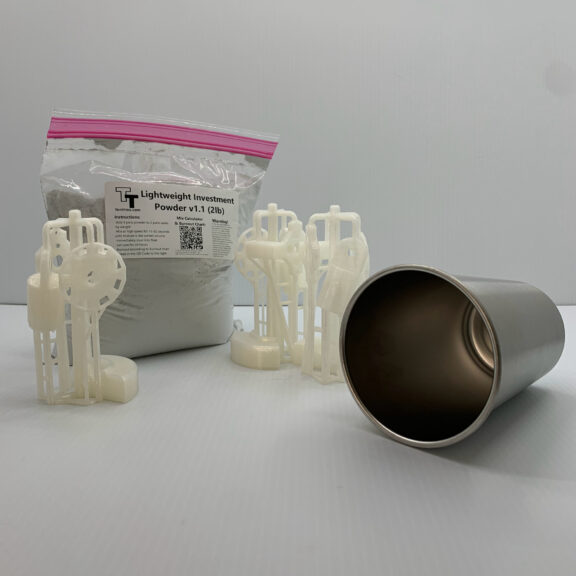
Lost PLA Casting Project Kit
Before you spend all the time making it yourself, try out the kit used in the Lost PLA Casting Project from Ten Tries!
The kit includes:
– 2lb. Ten Tries v1.1 Investment Powder (makes 80oz or 5 pints, just add water)
– 3ct Test Sprues 0.4
– 1ct 16oz flask
Materials:
Plaster: Ace Hardware, Amazon, Home Depot
Dish Soap: Kroger, Amazon (may need to be diluted)
Graphite: Amazon
“Casting Flask”: Amazon
Downloads:
setTemps.csv (python file reads this to get temperature schedule)
Try 1: Lost PLA Casting Introduction
In my first attempt, I printed PLA parts on my 3D printer, and hot glued them to a printed sprue. The sprue design came from the youtuber, Vegoilguy, so be sure to check out his channel.
I mixed a ratio of 5 parts plaster to 3 parts water by weight for 3 minutes and let the plaster cure for 12 hours before I started the burnout process:

- Heat the flask at 100C for 3 hours
- Ramp up to 550C over 2 hours
- Maintain the temperature at 550C for 3 hours
- Put the aluminum filled crucible into the furnace and ramp up to 740C which will be my pour temperature
- Maintain the temperature at 740C for one and a half hours
- Then I poured…
All that’s left to do is clean out the plaster
It’s pretty good for a first try
Try 2: ThAt WEnT weLL
I had thought the casting plaster would allow more air to escape, but I was wrong. It is important to use a peach can to ensure the plaster flavor comes out right…. that’s a joke. don’t eat plaster! LOL
Some lost wax casting flasks have holes so let’s try that. I mixed, poured, and cured the casting plaster the same as before. The burnout process was the same as well.
So those perforated flasks are supposed to be used in a vacuum machine.I don’t have the money for that, and I should really have had better results with all the ventilation anyway. Maybe the temperature of the plaster is too low? Let’s make sure it is hot enough for this next run.
Try 3: Discovering a Silly Mistake
I made the sprue a little larger so the aluminum won’t cool down as quickly while flows through the mold. I kept the plaster in the furnace for 2 hours at 760 degrees Celsius. That’s half an hour longer and 20 degrees hotter.
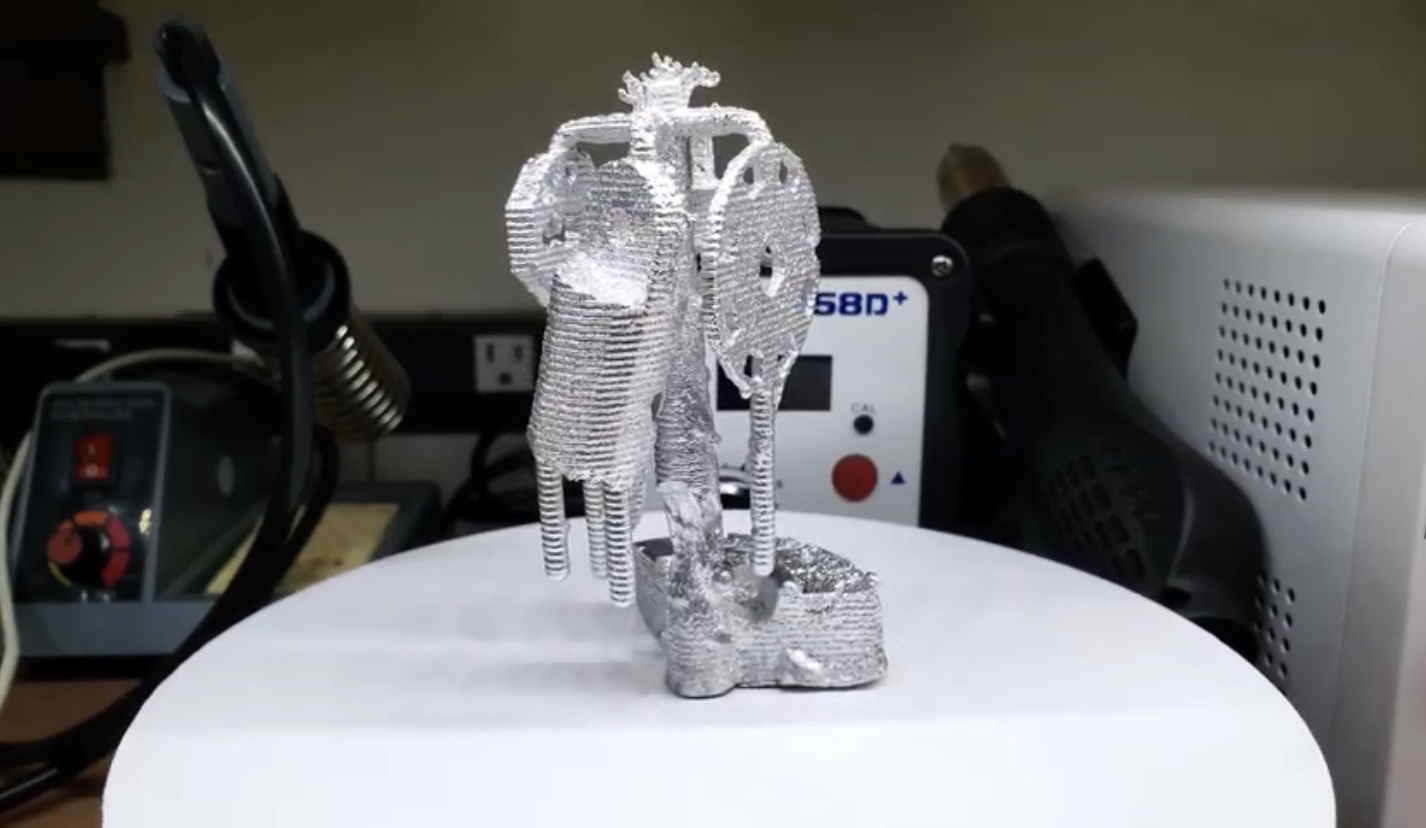
That is a little better. Some of the teeth on these gears look like teeth, but none of these gears are remotely accurate enough to work. Temperature clearly wasn’t the problem, which means the aluminum is not hardening prematurely.. It actually looks like air might be getting trapped…
So I did some research on the casting plaster I bought. I made a pretty dumb mistake. It is casting plaster, but is not the right kind for investment casting. Apparently, the Hydrocal White plaster is for casting paintable plaques, trinkets, and figurines.
I found the product that I should have used. USG Hydroperm. Looking at the MSDS sheet for Hydrocal White, it looks like it is just ordinary plaster. If we compare that to Hydroperm, it is ordinary plaster with talc added. Since I’m cheap and like a challenge, I’m going to replicate it.
My formula is plaster-based and includes 3 additives.
Talc – allows heat to transfer more easily to reduce cracking
Dish Soap – creates tiny bubbles that cause the mixture to turn into a foam before setting
Graphite – Burns away in the burnout cycle if there is oxygen present. Indicates ability of air to flow
Try 4: Silly Mistake, SOLVED
Armed with a new investment formula, I threw a few random printed parts on a sprue. And the result was better! It seems the porosity of the plaster really helped.
Try 5: Lost PLA Casting Made Easier
I realized that assembling casting trees is time consuming and all just to have a bunch of cast aluminum “art” around. Also, using soup cans for just a one-time use is tedious, so I bought a few stainless steel pint cups that happen to be about the right size for this. They shouldn’t rust as much, and if I’m lucky, I’ll be able to pop out the plaster after it cures.
The stl file for this can be downloaded here. If you use these files, I just ask that you attribute and link my site.
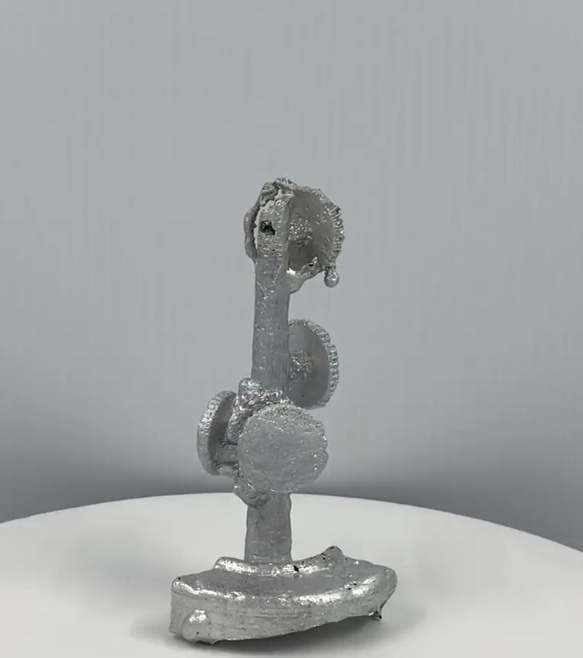
Not bad. If you look closely at some of these rounded masses of aluminum, it looks like some of the aluminum drained out when I drenched the plaster in water. The aluminum looks far too smooth to have been formed against plaster. Water, on the other hand, would cool the aluminum into smooth, rounded shapes.
It also appears that the printer lines are still incorporated into these recessed areas. Both of these defects must be caused by drenching the aluminum-filled mold in water before the aluminum fully solidifies. If we look back at previous tries, we can see the same defects.
Try 6: Lost PLA Casting That is Almost Okay
So, let’s fix that. Previously, I would allow the mold to cool for about 5 minutes before drenching. For this try, I will allow the mold to cool much longer. One hour should do it. By the time I drenched the plaster the outer temperature of the flask had cooled to about room temperature.
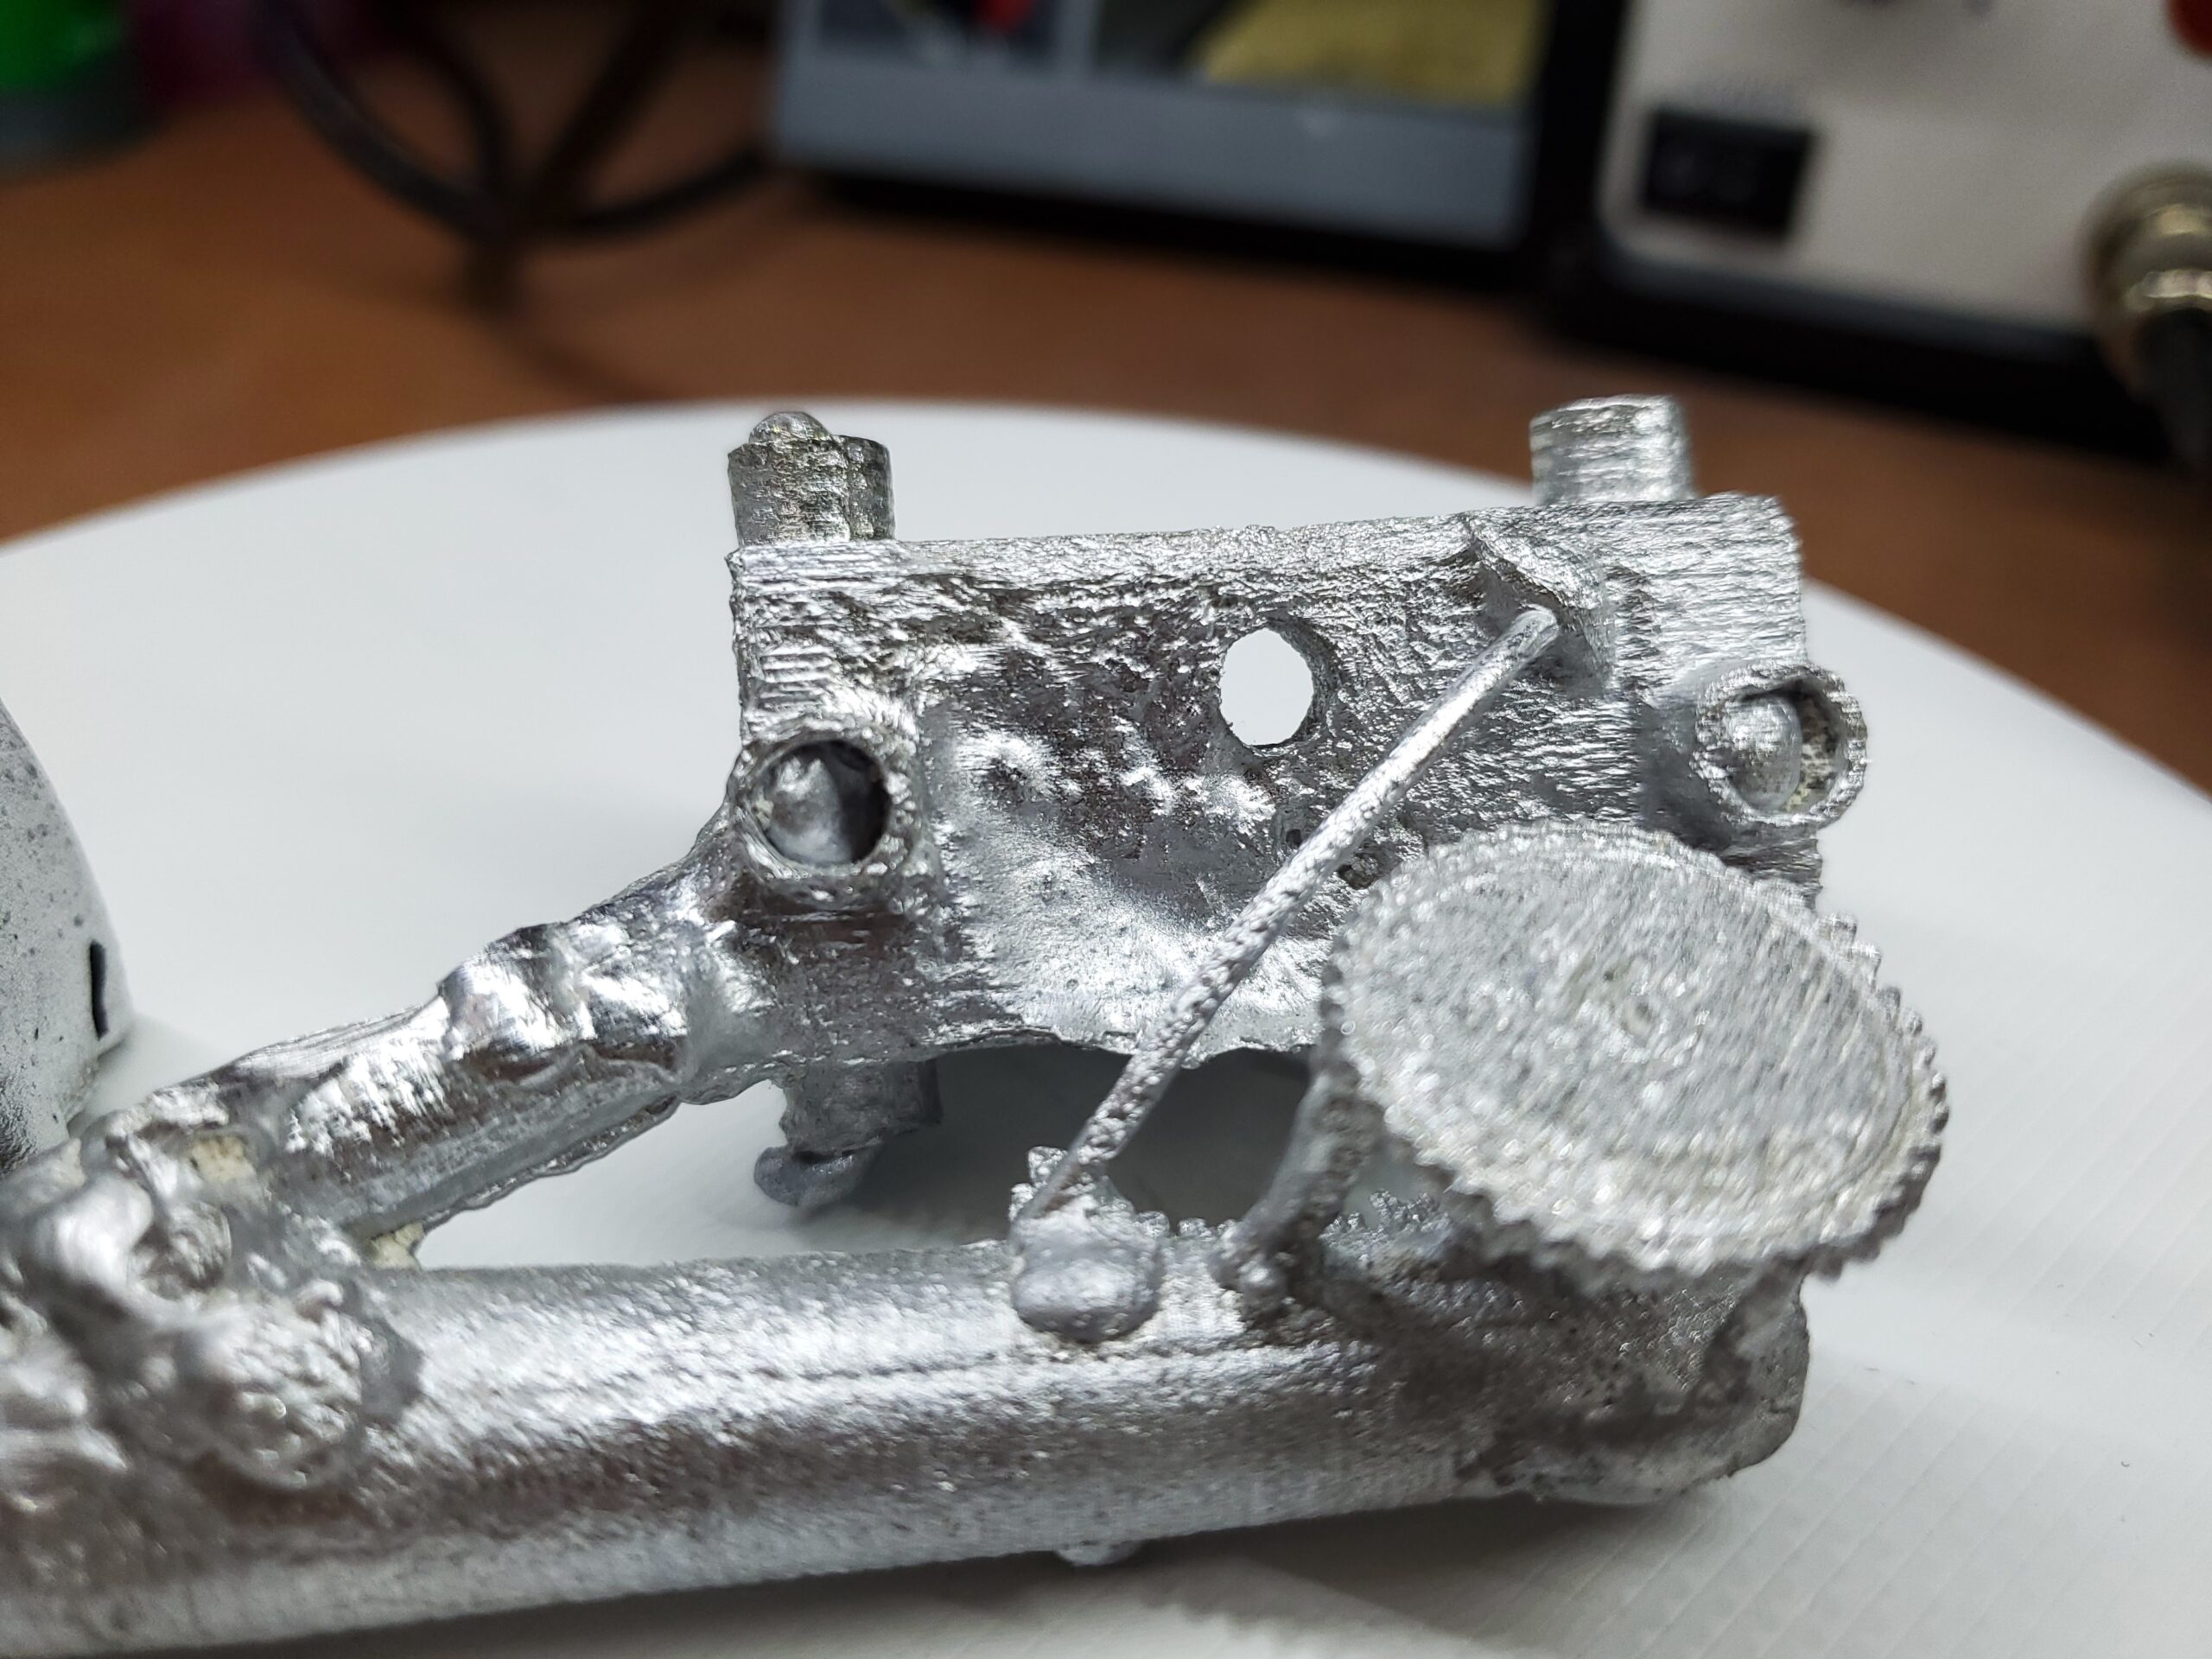
Two of these parts actually look usable. Most of the fine details are still intact. There are a couple small imperfections, but they would likely work.

I can do better.
Try 7: What the…
It appears there may not be enough pressure in the sprue to fill the voids with molten aluminum. That should be easy enough to fix. I simply lengthened the sprue and tightened the spacing of the parts to fit in the cup.

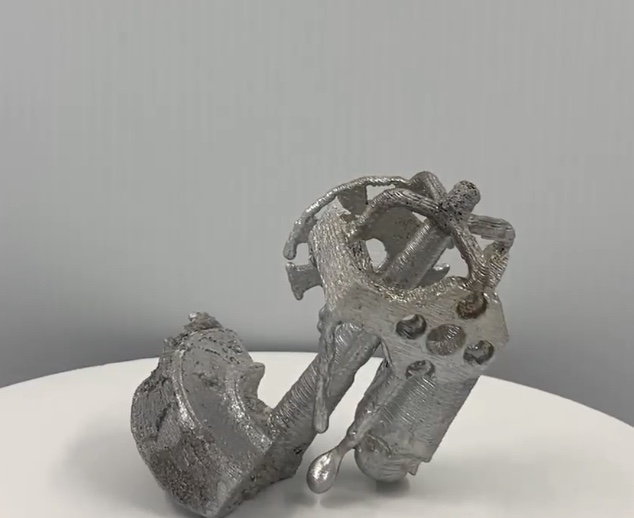
I must have pushed the strength of the plaster beyond its limits, because the cracking in the mold was clearly extensive. You can tell there are blocky chunks of plaster that broke off and shifted inside the cavity where the aluminum should be. The good news is that all the other issues up to this point have been all but resolved.
Try 8: Getting Somewhere with Lost PLA Casting
It seems the plaster is breaking apart because of thermal stress. Basically some parts of the plaster are expanding as they get hotter and other parts are taking a little longer to heat up and expand. If you recall, I have been increasing the temperature of my furnace in steps.
This is because the temperature controller I am using increases the temperature to a setpoint and holds it. To reduce the thermal stress, I increased the temperature in smaller, quicker steps. That should significantly reduce the temperature differences and thermal stresses inside the plaster. I also added a small amount of Portland Cement to my formula.

Wow, that is so much better. There was still one part that broke off, but if I’m being honest, expecting that narrow, unsupported part to stay connected is a little ambitious.
Try 9: Inconsistencies, Fixed
Looking back on previous tries, I’m seeing that my plaster density has been very inconsistent. In the last try, my density was only about .3 g/mL. That’s one third the density of water and one sixth the density of pure plaster. I’m altering the proportions to achieve an investment that is about 50% more dense than last try. The water and soap seems to determine the final volume, so all I should have to do is keep the water and soap constant while increasing the other ingredients by 50%. This should reduce the large bubbles in the plaster and significantly increase plaster strength.

Alright! Now those are nice.
Try 10: How Lost PLA Casting Should Be!
Changing the temperature of my furnace every 15 minutes was very time consuming. So, I automated that process a bit with a little soldering and a bit of python code. Plus, it logs the actual temperature.
You can download the code for this project here.
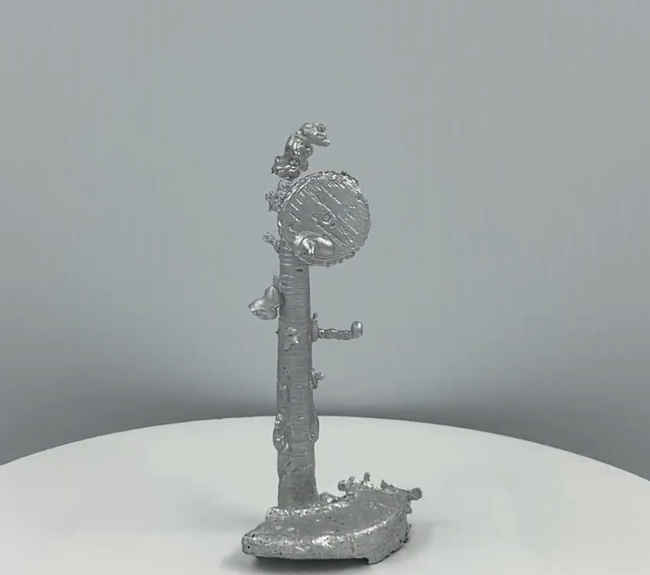
Clearly, my control could use a little work, but the cracking is so much better than it was. I had some technical difficulties on this one. My furnace heating element burned up right before the metal was hot enough to pour. Then after I rebuilt my furnace, I was ready to pour again. There are some defects, but considering the trouble I ran into, it isn’t too bad.
I’m pretty happy with how these parts turned out. I have a feeling they’ll work well. If you’d like to know what these parts are used for… the video for that project will be available next Sunday (09.06.2020)
If I had an 11th try, what would you do differently?
Didn’t find tries 7,8,9, and 10. I assume you only posted the tries that didn’t work.
Tries 7 – Ten are in part 2. It is posted now!
Motor frigorífico, bote grande de cristal con tapa de rosca y juego de llaves para hacer cámara de vacío. Ese sería mi 11 intento… Gracias.
¡Buenas ideas! ¡Tendré que probar eso!
Perdon por mi español
Important to have Aluminum alloy for casting. worth a mention.
Absolutely, that’s something I didn’t truly grasp until the sand casting video. A little elemental silicon goes a long way